General
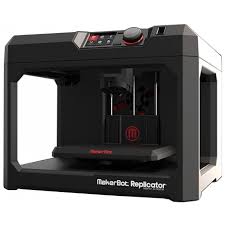
The MakerBot 5th Generations are new option for students seeking a more assisted printing experience. These machines will be available during RP Staffed hours Only. The RP Staff will level the bed, Monitor preloaded filament, and remove jobs from the print bed. The three MakerBot 5th Generations in the RP lab will be preloaded with the most commonly used colors (Black, White and Natural). The User is only expected to bring there .Makerbot files on a Flash Drive and begin the print. If you would like a more hands-on experience, the Replicator 2 are a better choice.
Training
These machines currently do not require training due to the more assisted usage policy.
Filment Check-Out
These machines are PreLoaded with Black, White, and Natural. So no Check out and no Color change.
Preparation
Create part file and export from CAD as an .STL
- For Soildworks, follow this guide to create the .STL
Start MakerWare.
- MakerWare can be opened on a MEAM computer by accessing Start Menu >> All Programs >> MEAM Software >> MakerBot Folder >> MakerWare 3.6
- MakerWare can be downloaded to your personal MAC or PC from the MakerWare Website.
Import your .STL into MakerWare. 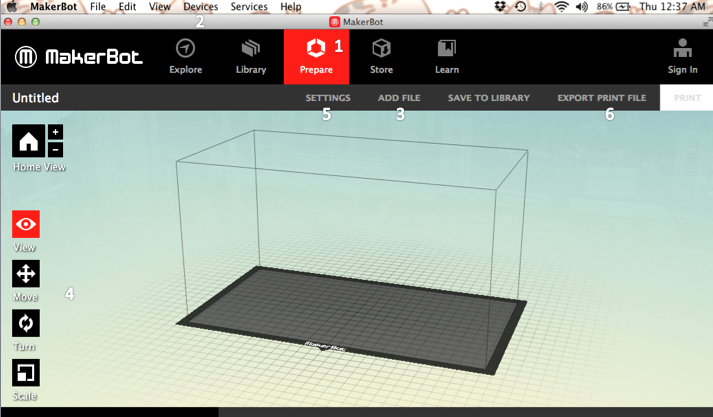
- Click the Prepare button in the LEFT center of the screen.
- Click the Device button in the top RIGHT of the screen.
- Device >> Select Type of Device >> Replicator (5th Generation)
- Click the Add button in the top RIGHT of the screen.
- If promoted, place on platform and/or convert units.
- Use Move, Turn, and Scale bottoms to place piece.
- Double click on each button for more control options
- On Move panel check that you part is on platform and centered
- On Turn panel, use Lay Flat to ensure your part is lying down
- Click the Settings button in the top RIGHT of the screen.
- Adjust print preference (infill, layer height, support, raft, ect.)
- Click Export Print File and save your file as a .Makerbot to a flash drive
- Files must be named: PennKey_Filename.Makerbot (ex. BenFra_Top.Makerbot)
- This file may be reviewed by a supervisor before printing
Printing
Come to supervised hours. You will need to get your part(s) approved and begin printing. Come see us according to the hours in the Google calender below!
- note: you may have trouble viewing this calendar in Firefox
- Tell Staff member you would like to use the 5th Gen Machines. They will check that the machine is leveled, Preloaded with filament, and Plate is taped.
- Insert USB stick and Turn and press knob to select Print.
- follow the prompts to begin print
- Staff member will assist in removal on piece; If you are not in the lab at the completion of the print piece will be found in the Parts Bin.